Debian Lenny – Installing Apache and PHP
Apache Install
A basic Apache install is very easy:
# sudo aptitude install apache2 apache2.2-common apache2-mpm-prefork apache2-utils libexpat1 ssl-cert
ServerName
Towards the end of the install you will see this warning:
apache2: Could not reliably determine the server's fully qualified domain name,
using 127.0.0.1 for ServerName
Although I’ll be going into some detail about the options and settings available in the main apache configuration file, let’s fix that warning straight away.
Open the main apache config:
# sudo nano /etc/apache2/apache2.conf
At the bottom of the file add the following:
ServerName demo
Change the ServerName to your Slice hostname or a FQDN (remember this demo Slice has a hostname of ‘demo’).
Once done, save apache2.conf and gracefully restart Apache (this method of restarting won’t kill open connections):
# sudo apache2ctl graceful
Now the warning has gone. Nice.
Default Page
If you navigate to your Slice IP address:
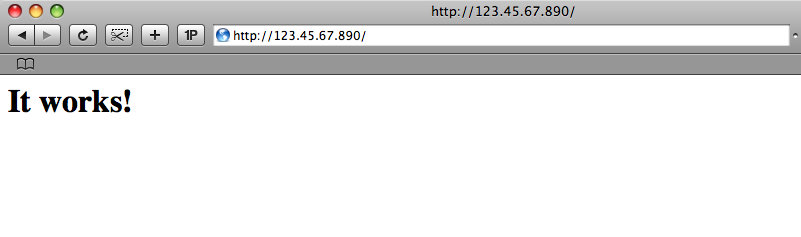
http://123.45.67.890
You will see the default ‘It works!’ screen:
Now we have the base Apache install completed, we can move onto installing PHP. If you don’t require PHP then please feel free to skip the next section.
PHP5 Install
In this example, I’m not going to install all the modules available. Just some common ones.
To see what modules are available try a:
# sudo aptitude search php5-
Note the ‘-‘ at the end of ‘php5’. This will show any packages that start with ‘php5-‘ and shows the available modules.
As before, due to using aptitude to install PHP5, any dependencies are taken care of:
# sudo aptitude install libapache2-mod-php5 php5 php5-common php5-curl php5-dev php5-gd \
php5-imagick php5-mcrypt php5-memcache php5-mhash php5-mysql php5-pspell php5-snmp \
php5-sqlite php5-xmlrpc php5-xsl
Once done, do a quick Apache reload:
# sudo /etc/init.d/apache2 reload
PHP Test
Before we go any further, it is always a good idea to test your setup and make sure that everything we’ve already done is working as we expect.
We can test that Apache and PHP are playing nicely together very easily by creating a simple php file with a call to the phpinfo method and then loading it in our web browser.
Let’s create the file:
# sudo nano -w /var/www/test.php
Now we will add some basic HTML and a call to the phpinfo method to the file:
<html>
<head>
<title> PHP Test Script </title>
</head>
<body>
<?php
phpinfo( );
?>
</body>
</html>
Great, now we should be able to load that script in our web browser using your Slice IP address:
http://123.45.67.890/test.php
If everything is installed properly, you should see a PHP generated page that displays all sorts of information about your PHP installation:

Great! No need to worry about what all that means for now. We just wanted to verify that PHP was working.
Now that we know it is, let’s go ahead and remove that test script, we don’t need the whole world knowing about our PHP installation.
# sudo rm /var/www/test.php